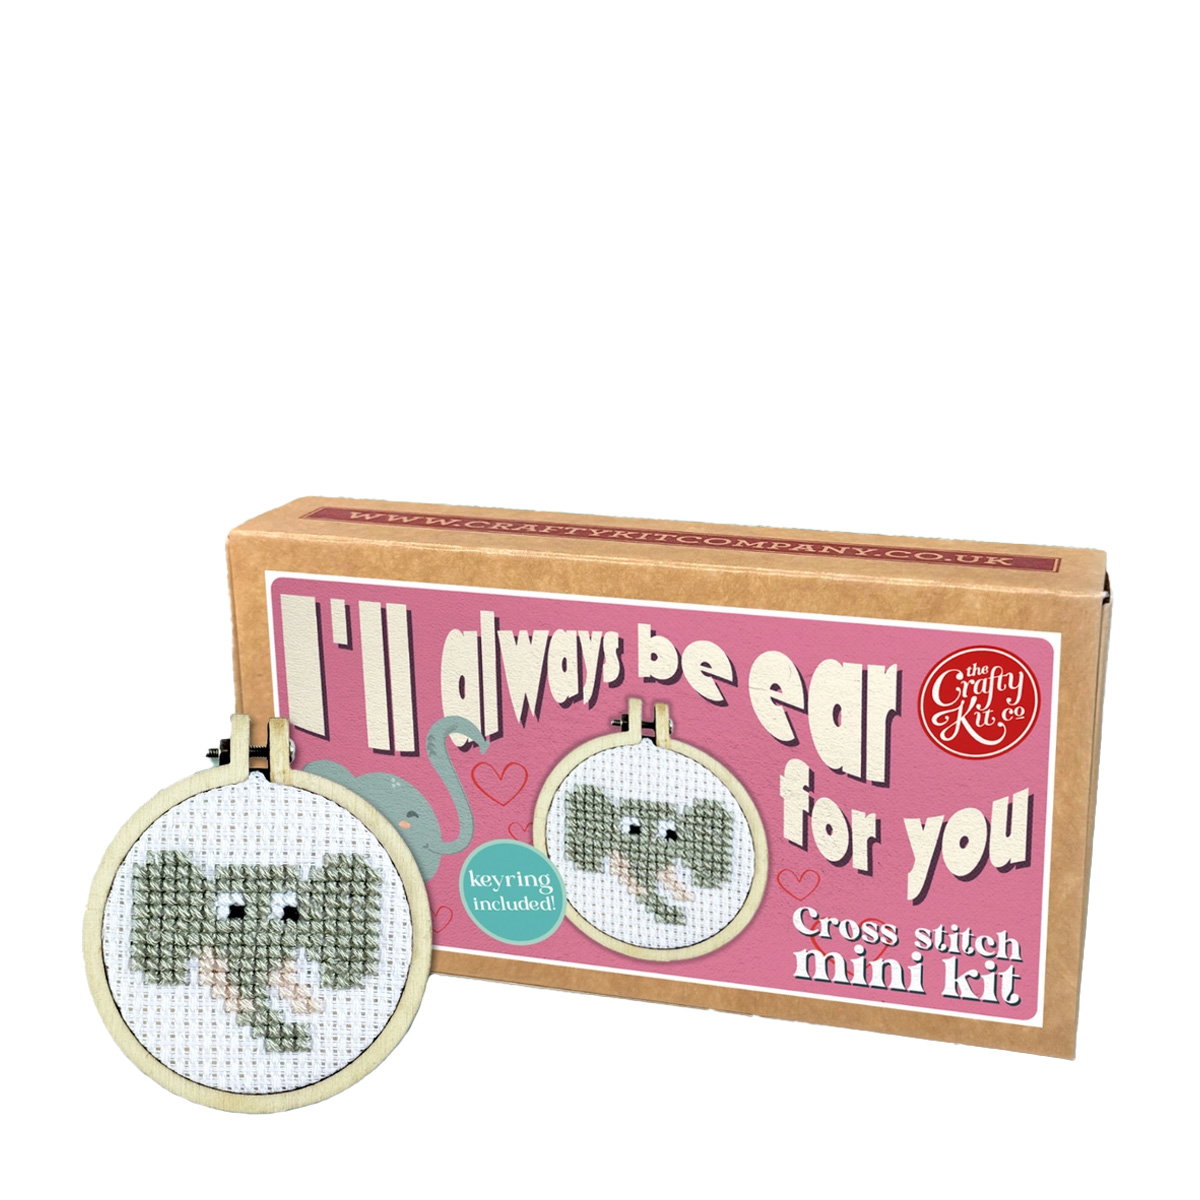
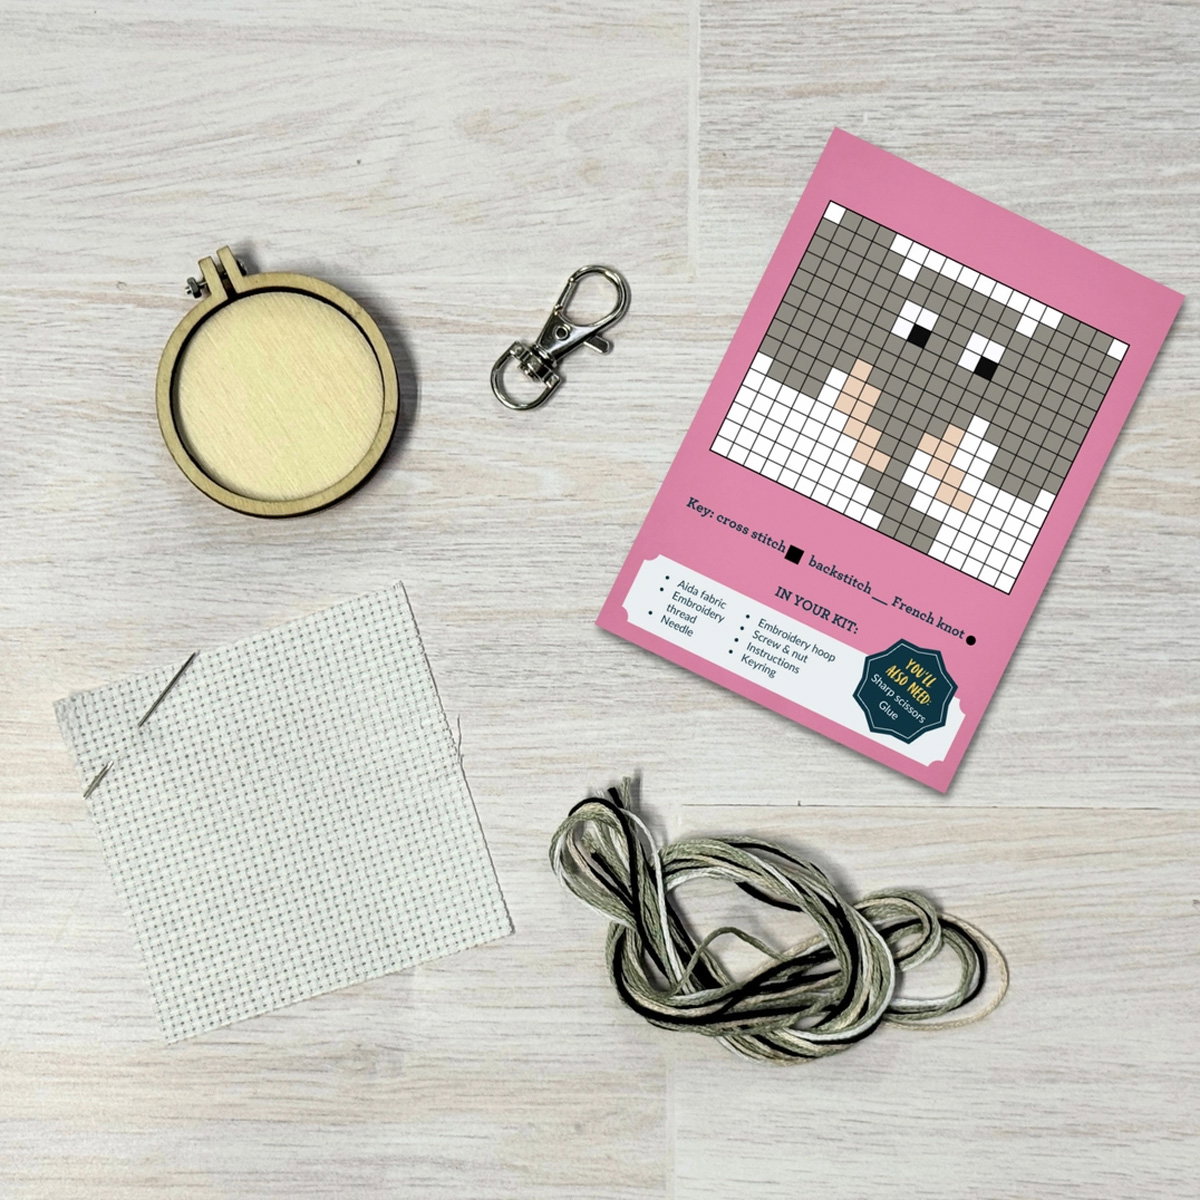
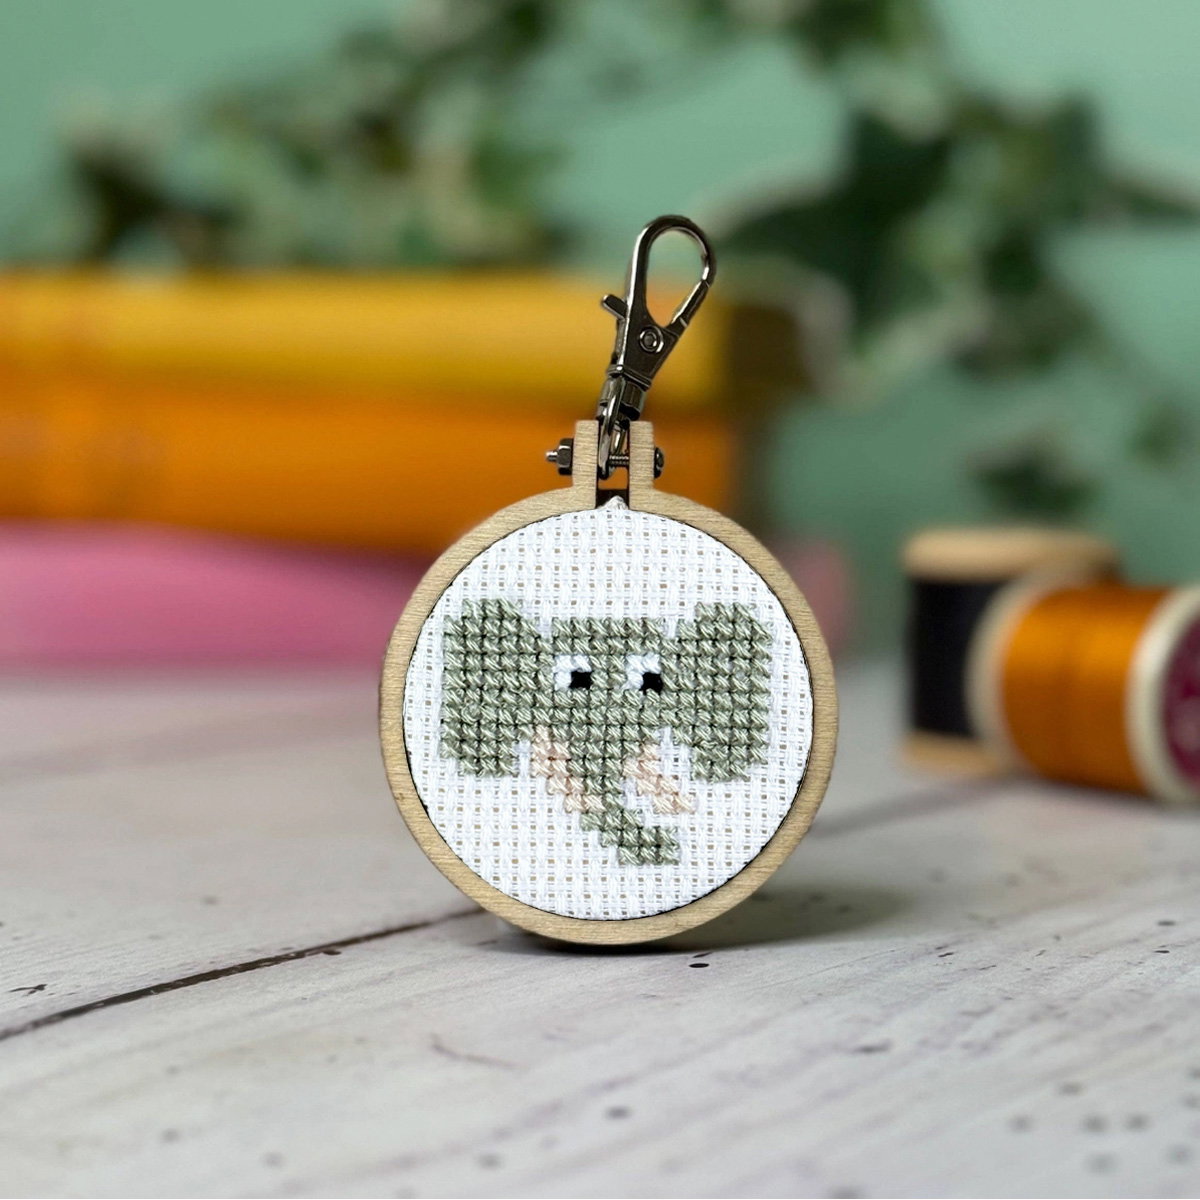
It’s no secret that I was very excited when an English manufacturer first introduced me to these small cross-stitch kits with many charming designs that can be used as key or bag charms.
How to get started
1. Start by pulling out one strand of the color you want to begin with.
2. Thread the needle, fold the thread in half, and tie a knot at the two ends.
3. Now insert the needle from the back through the fabric and gently pull so the knot sits neatly on the back. Make sure to start in the center so the embroidery is placed centrally on the fabric.
4. Now embroider cross stitches according to the chart—one stitch at a time.
5. When you change color or finish the embroidery, pull the needle through a few stitches on the back to secure the thread.
Mounting the finished embroidery
1. It’s important to wipe the inside of the frame before framing the embroidery to avoid color transfer. Use a damp cloth and wipe several times until all excess color is gone.
2. Insert the small screw through the holes at the top of the embroidery frame with the carabiner in between and tighten just enough for the screw to hold.
3. Place the embroidery over the smaller of the two included wooden plates and again make sure to center the embroidery, push the embroidery and wooden plate into the embroidery frame, and tighten the ring as much as possible using the small bolt.
4. Trim away excess fabric on the back.
5. Apply glue to the edge of the back of the embroidery frame and press the larger of the two included wooden plates firmly in place; hold until the glue sets.